Every UX/UI designer has their own approach when delivering a rich and engaging user experience and interface. Similarly, here at iPullRank, we have our own design criteria and processes. But at a fast-paced startup agency like ours, timing and resources can be limited, so it’s crucial to map our design process with a tried and true checklist and stay focused on creating the best designs in the most efficient way.

Start your project by considering the following:
-
Business Objectives
Understanding business objectives is very important in the UX design process. Without business goals in mind, there won’t be any users to speak to which is why collecting and researching your client’s or your business goals, objectives, metrics and competitive analyses are crucial in the research process. Some common examples of business objectives are:
- Generate more qualified leads
- Increase awareness
- Improve sales support
- Reduce time to complete a task
-
Users Needs:
This document can be provided by your clients and stakeholders in addition to conducting interviews with your website users and individuals who may work closely with users. For example, if your users are museum visitors, interviewing museum tour guides can be very helpful. You can also look at third parties that conduct research reports like Nielsen Norman Group to gain additional insights.Examples of user needs for a medicare website could be:
- Compare medicare plans
- Purchase medicare plans
- Plan consulting
Here are some tools that are very handy when conducting remote user research:
1. SurveyMonkey

You can conduct any type of surveys through SurveyMonkey, It has survey templates that you can easily customize and send to your target audiences via mobile, web and social media. Because you can send your surveys to many audiences, this is good for gathering quantitative user insights.
2. Google Forms

Google forms are also easy to create for surveys. Additionally, it can be used for prototype feedback and interviews. You can add your team to your forms and collaborate. Just like SurveyMonkey, Google Forms is good for gathering quantitative user insights.
3. Skype/Google Hangouts
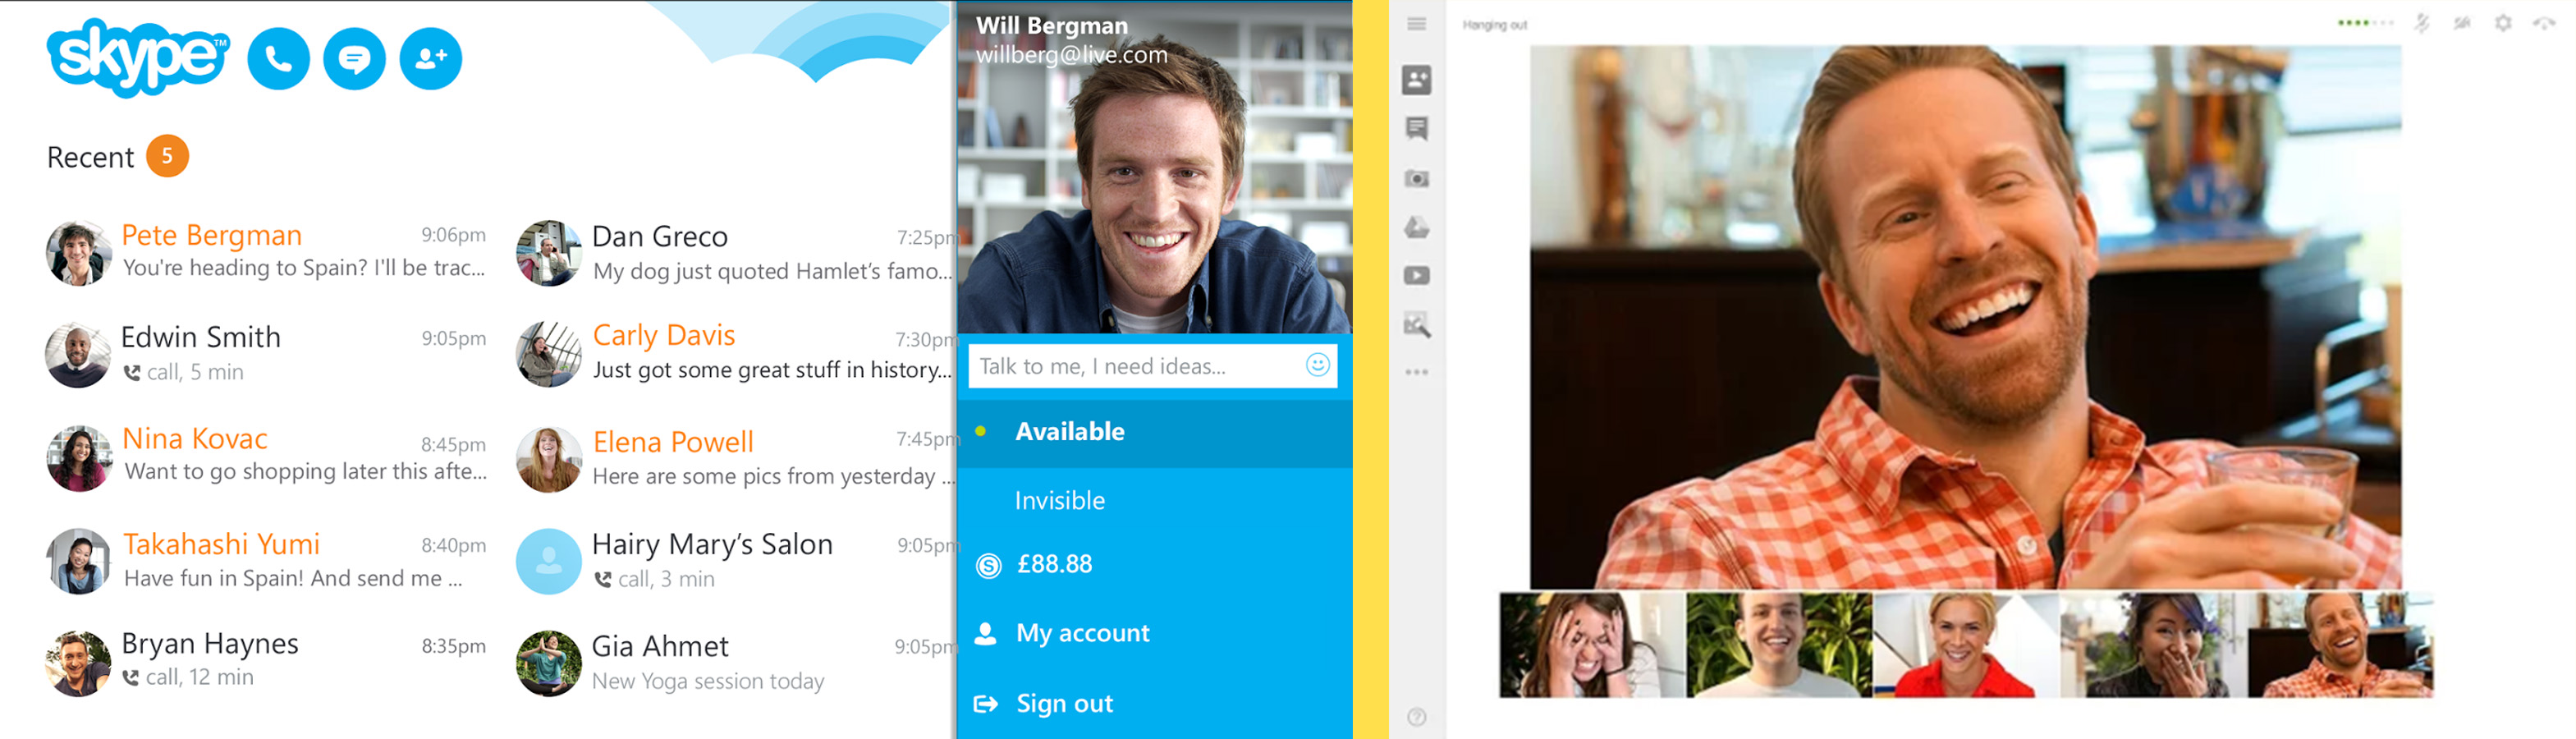
Now that you have your quantitative user research via surveys, it’s time to implement qualitative user research by conducting user interviews through Skype, Google Hangouts or just a call. Qualitative user insights can help you understand users’ behaviors within context.

After you develop a better understanding of your business goals and user needs, start planning your project and converting users into returning advocates of your brand:
-
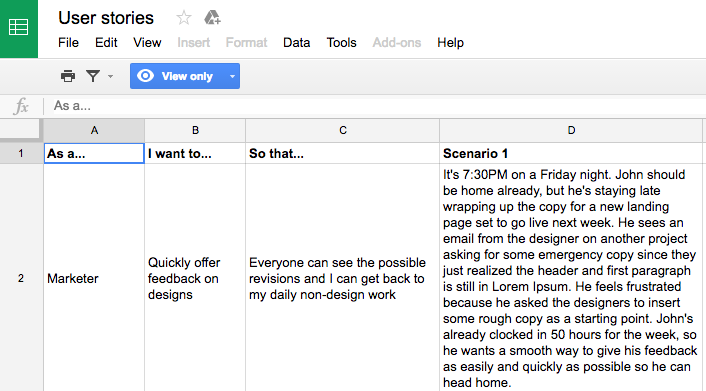
User Stories & User Scenarios:
User stories help you identify who the users are and what needs they have. One of the user stories for an online shopping website could be: “As an online shopping website user, I want to save my favorite products in my shopping cart so I can buy them later.” Although some may be under the impression that the designer must craft a full story to describe the user, it just needs to be a brief statement. After you develop the user stories, document the different scenarios when your user will interact with your website. User scenarios can provide you with contextual backstories for your users and help you specify the gaps in their knowledge that might lead to interaction difficulties. Learn how to write a user story here.
Google Sheets or Google Docs are best for creating user stories and scenarios collaborative with your team.
-
User Flows:
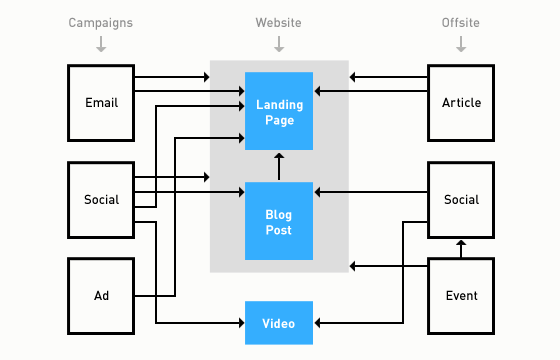
Try to create a smooth user flow that matches your business goals and users needs. A user flow is a visual documentation that maps out the sequence of how users encounter and follow your web interface to achieve their goals. Different users have different needs, expectations and goals, therefore, the flow will be different for each user. Learn how to design a user flow here.

Now that you have enough knowledge about your users and website goals, it’s time to explore your design solutions.
-
Sketch & Brainstorm:
Find a marker, a white board, some post-its and get to sketching! Plan a meeting where you can start to sketch out your design solutions with your creative team. The reason you start sketching before creating design work is to keep iterating and refining your solutions. Get your hands dirty, come up with different variants by evaluating your sketches and be open to collaboration. Come together with your team or your users to vote for the most effective solution(s) and finalize key decisions. In order to build a better brainstorming strategy, you need to follow these steps:
- Gather the right people
- Create unified expectations
- Frame the problem
- Bring in some tools
- Remove judgment
- Write down highlights
- Separate generation and evaluation
This way, you will have a more efficient brainstorm.
-
Wireframe:
Now you have consolidated your sketches and concepts, it’s time to create wireframes. Organize your sketches first and create pages on top of your user flows. Notice that you may have different types of wireframes in terms of project timelines. When time is limited, creating low fidelity wireframes that best explain your screens is a better choice. Unlike low fidelity wireframes that might only show the content type and layout, high fidelity wireframes tend to translate your web content more accurately because a specific copy will eventually be added to it.
Some tools for creating wireframes are:
1. Draw.io
Draw.io is a free online tool that is best for creating low fidelity wireframes. You can easily drag and drop from the templates and create your own wireframes. The wireframes can be saved automatically in your Dropbox, so you won’t need to worry about losing your files.
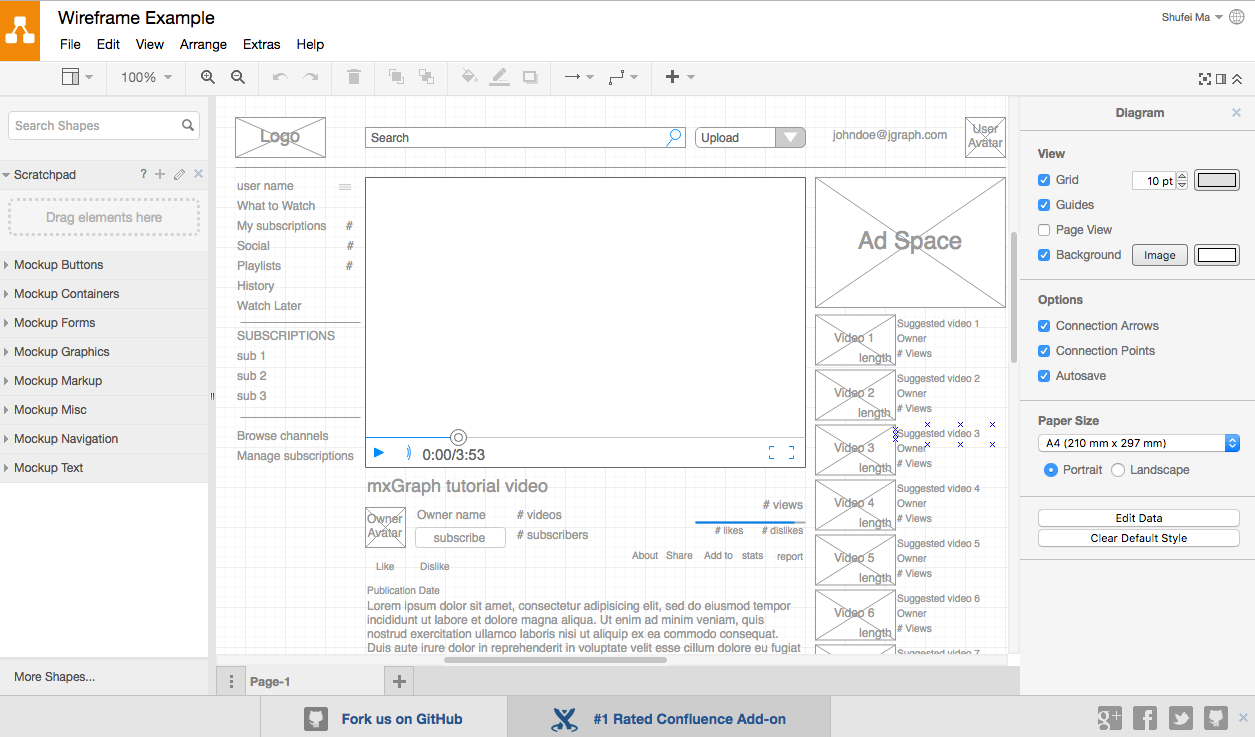
2. Omnigraffle
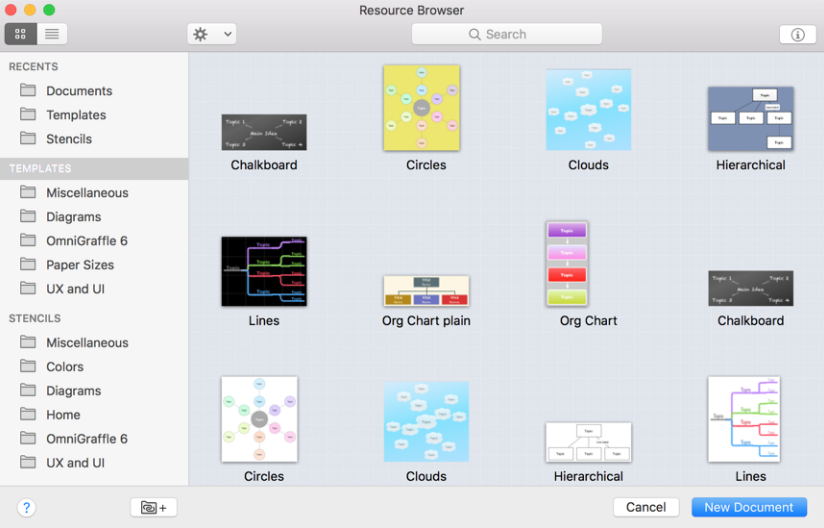
OmniGraffle is a tool that’s best for creating both low or high fidelity wireframes. With it, you’re able to choose a wireframe template and make it your own. Although it’s a little pricey, you can still benefit from its comprehensive wireframing & prototyping libraries.
3. Adobe Photoshop/Adobe Illustrator
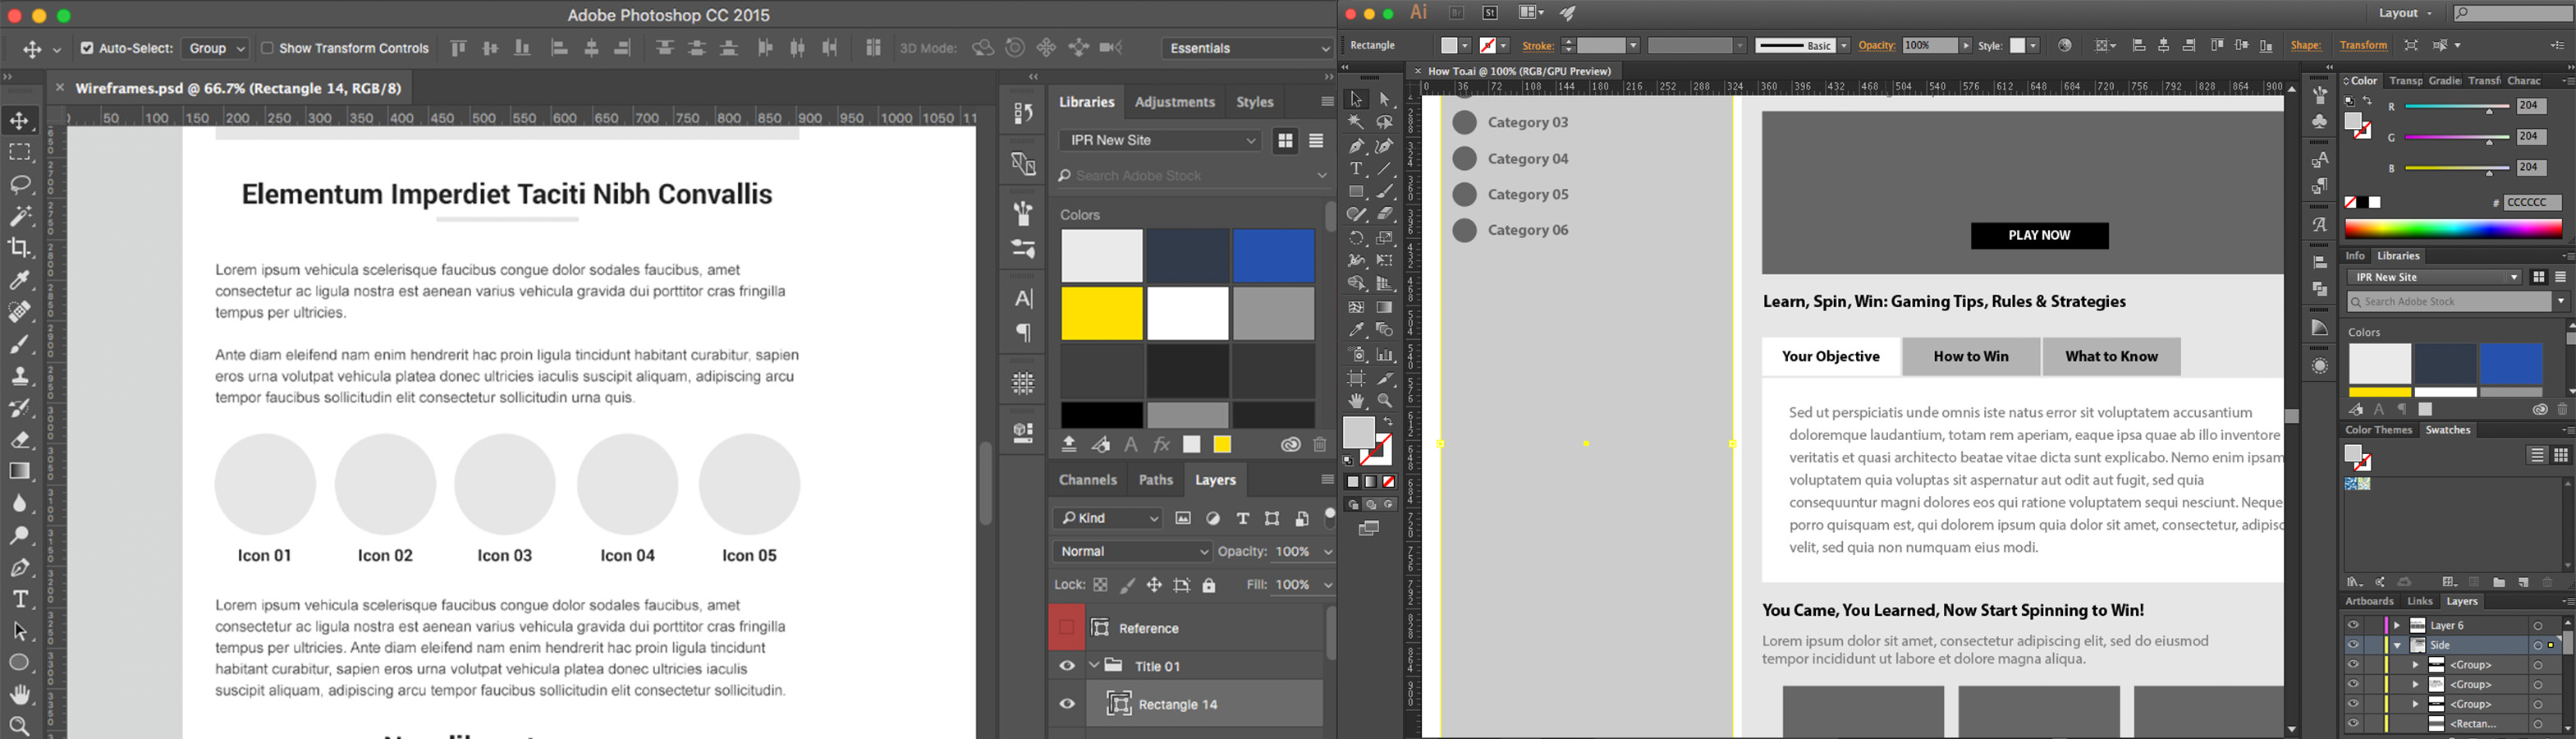
These two tools are a designer’s best friends. They are best for creating low or high fidelity wireframes, support cloud libraries, and the grid system.
4. Lorem Ipsum Generator
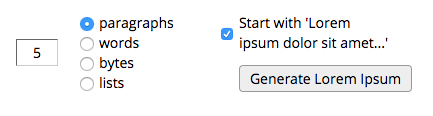
When creating low fidelity wireframes, copy can be replaced by random text like “Lorem Ipsum”, Lorem Ipsum has been the industry’s standard dummy text ever since the 1500s. Feel free to use this tool to generate your wireframes paragraph.
-
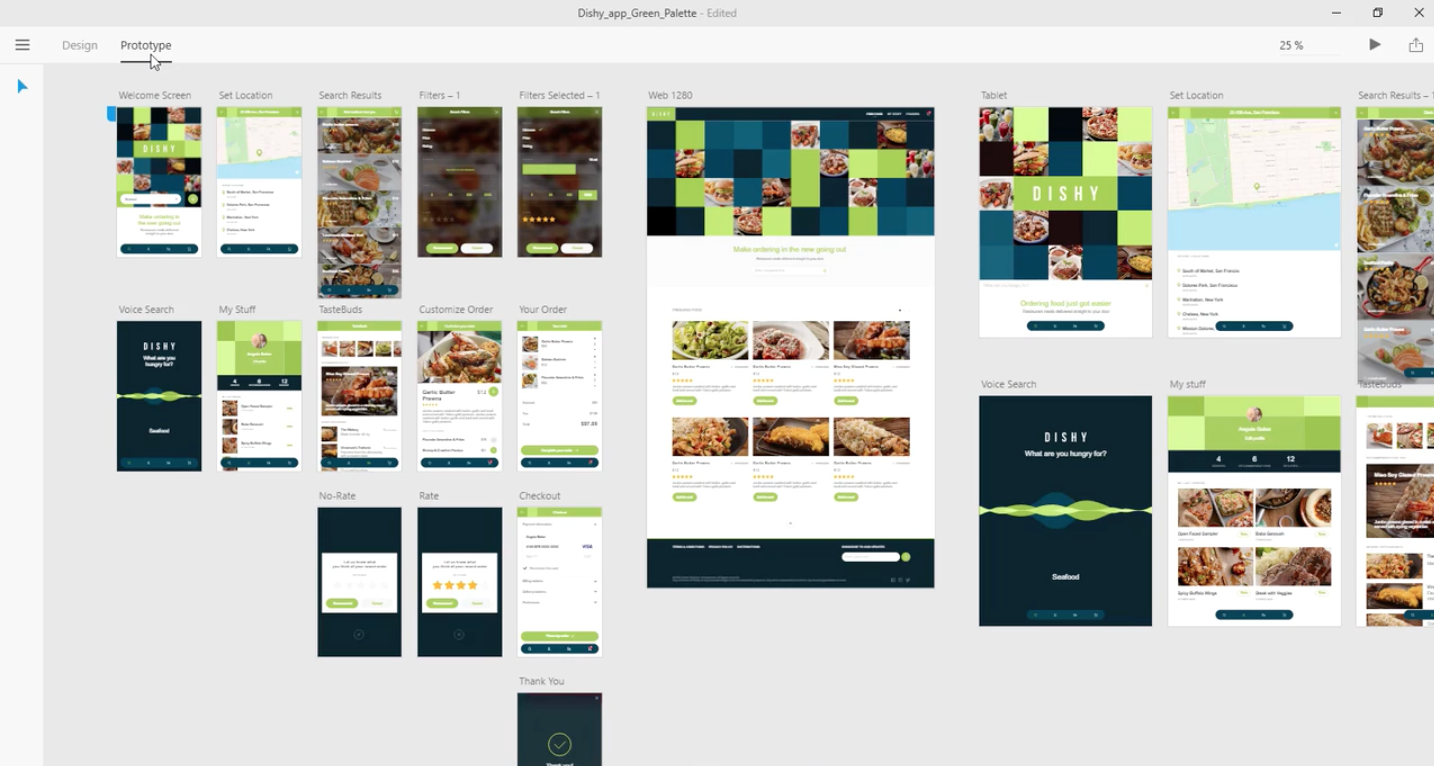
Prototype:
Iterate and refine your designs by rapid prototyping with your team or users. Don’t create pixel perfect mockups right after you have your wireframes because once you finish those, it’ll be hard to go back and change the designs again. Always prototype and test your wireframes before creating high fidelity mockups. Test as much as possible with your team, and if time allows, target a small sample of users. This way, once you find a problem, you can change/update the wireframes and test again.
Tools for prototyping are:
1. InVision
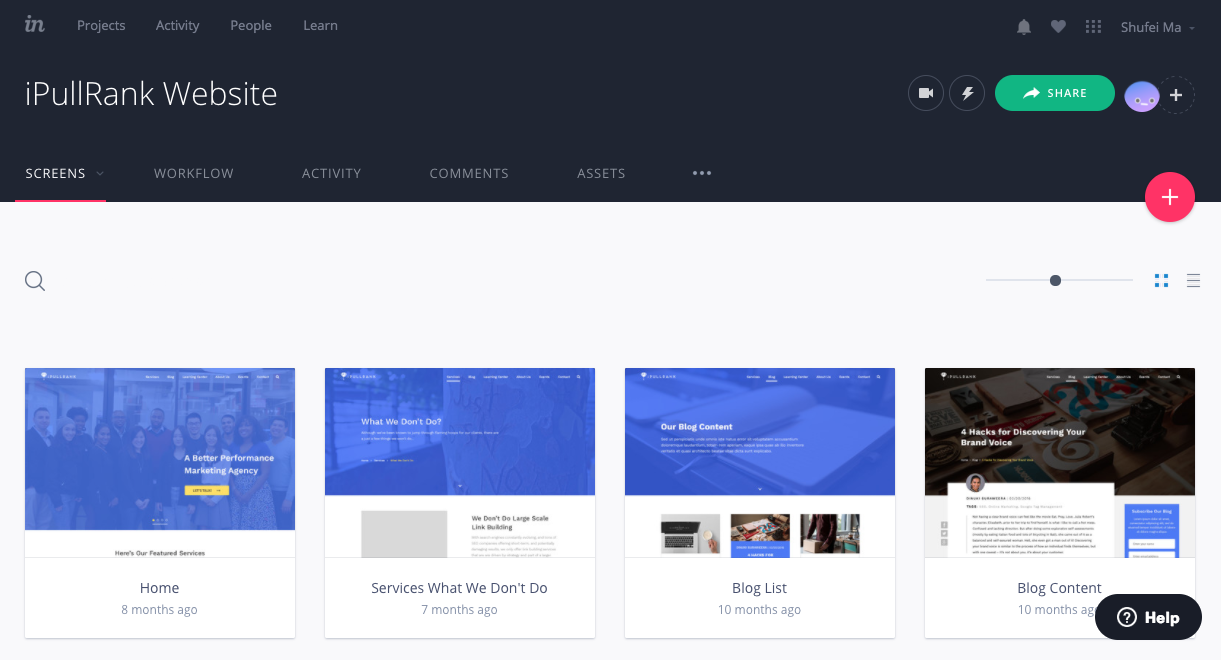
InVision is a powerful tool for prototyping. You can upload your design files and add animations, gestures, and transitions to transform your static screens into clickable, interactive prototypes. It’s also good for internal review and gathering client’s feedback.
2. Adobe Experience Design
Experience Design is still a Beta product of Adobe, but it’s an all-in-one tool for designing and prototyping websites and mobile apps. You can also gather feedback from your team and your clients.

Now that you have your site structure and basic flows, it’s time to implement your content strategy.
-
Information Architecture:
How can you organize the content information you have and create a great navigation that is consistent? It is important to organize your site content so that it is findable, manageable and useful for end users. Effective information architecture makes your site’s content searchable, findable, and leads to happy users.
Tools for Information Architecture are:
1. Excel
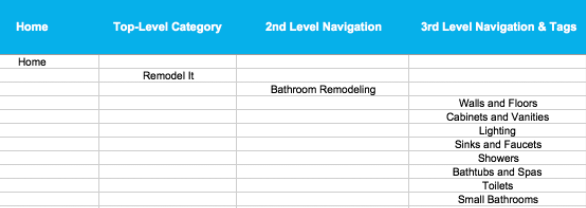
Organizing site structure can be very messy when you are dealing with a content heavy site, like news or home improving site. Because the site can contain a lot of categories and subcategories, organizing your site taxonomy is very important. Excel may not be the ideal tool but it’s definitely better than word docs.
2.Treejack
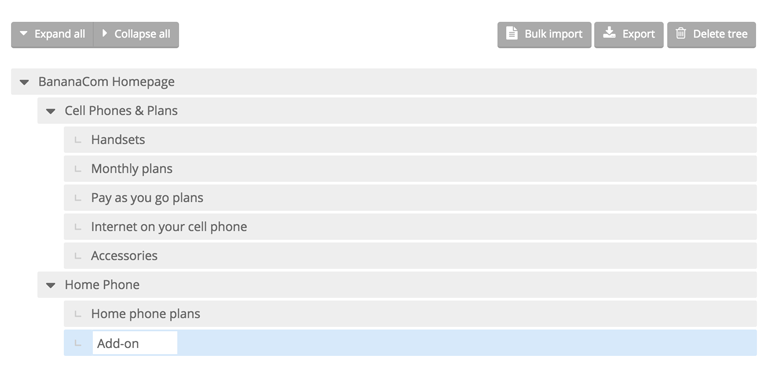
Tree testing is a technique for evaluating the findability of topics on a particular website. It’s also known as ‘reverse card sorting’ or ‘card-based classification’. Tree testing is done on a simplified text version of your site structure.
-
Voice and Tone:
Make sure your site speaks to your brand and allows the audience to understand your product/brand. Write copy that resonates with your end users and differentiates your brand from competitors. A sample voice and tone document could include:
- An explanation of the brand messaging architecture;
- Examples of correct sentences;
- Examples of incorrect sentences;
- The reasoning behind the examples and guidelines

-
User Interface:
Follow the brand visual style guide and craft consistent patterns within the interface. Create a better user interface by designing a consistent and simple navigation, clear visual hierarchy, readable content, correct colors/typography and recognizable imagery and icons. Make sure that the system that you create communicates what is occurring when the user interacts with it.
-
Responsiveness:
Don’t forget your mobile users! Be prepared to change the design layout based on different devices. In some cases, mobile-specific websites and native apps can offer rich experiences that aren’t always ideally suited for responsive styles. For example, if you have a client’s logo in a horizontal banner on your homepage, it may look good on the desktop version, but look very tiny in the mobile responsive version due to the decreased image size. A solution for this is to make a different banner that only suits the mobile version. In most of the cases, when you upload images to WordPress, it will generate different image sizes from small and medium to large and full. Pick the one that suits your site most. You can also prepare three sizes for your image; one that is regular size, one for retina display or double-sized and another for mobile purposes. If you want to learn more about how to make responsive images from a dev standpoint, please see “8 Things I Learned About Responsive Websites as A Front-End Rookie (Part 2)”.

-
Site Speed:
Slow site speed can increase the emotional friction that users have when your page is loading. Users’ time spent on your website is very precious; 40% of people abandon a website that takes more than 3 seconds to load. Therefore, your focus should be to shift from creating high resolution, gif heavy imagery to ensure efficient page load time. Learn more about how to make your site faster here.
Tools for inspecting your site speed are:
1. PageSpeed Insights – Google Developers
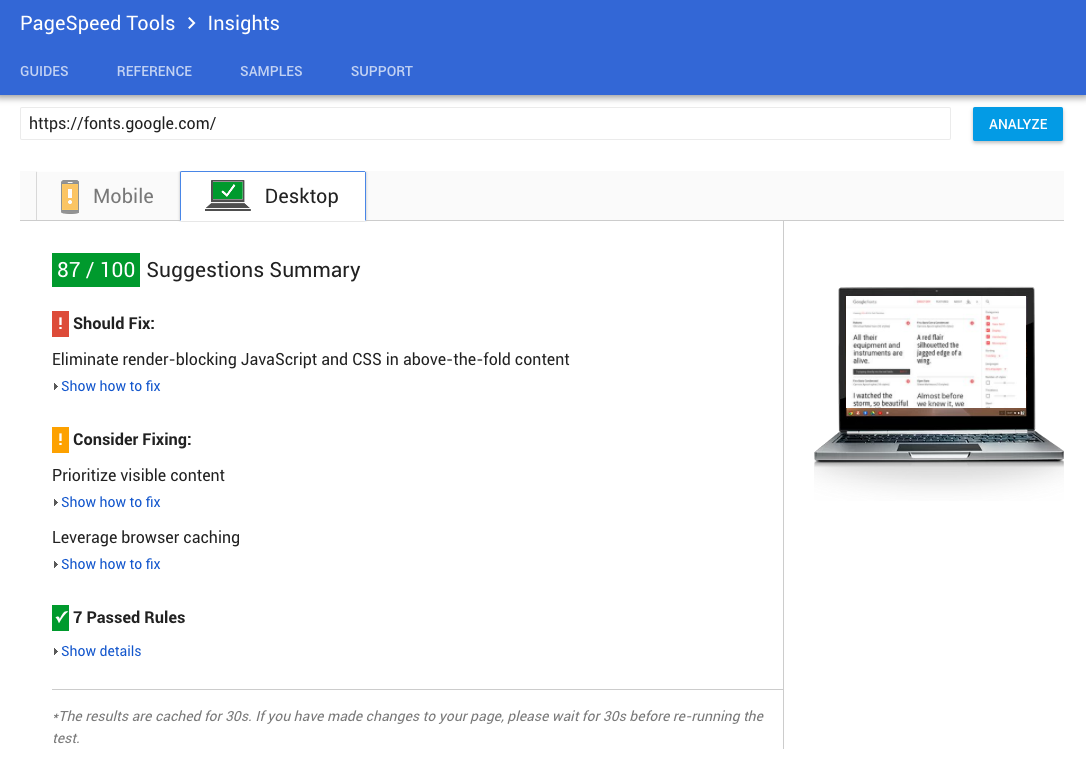
Google’s PageSpeed Insights tool is very easy to use – simply type the URL of the site you want to analyze and it will generate both mobile and desktop of the site speed. It also generates suggestions of how to make your site speed faster.
2. Chrome DevTools
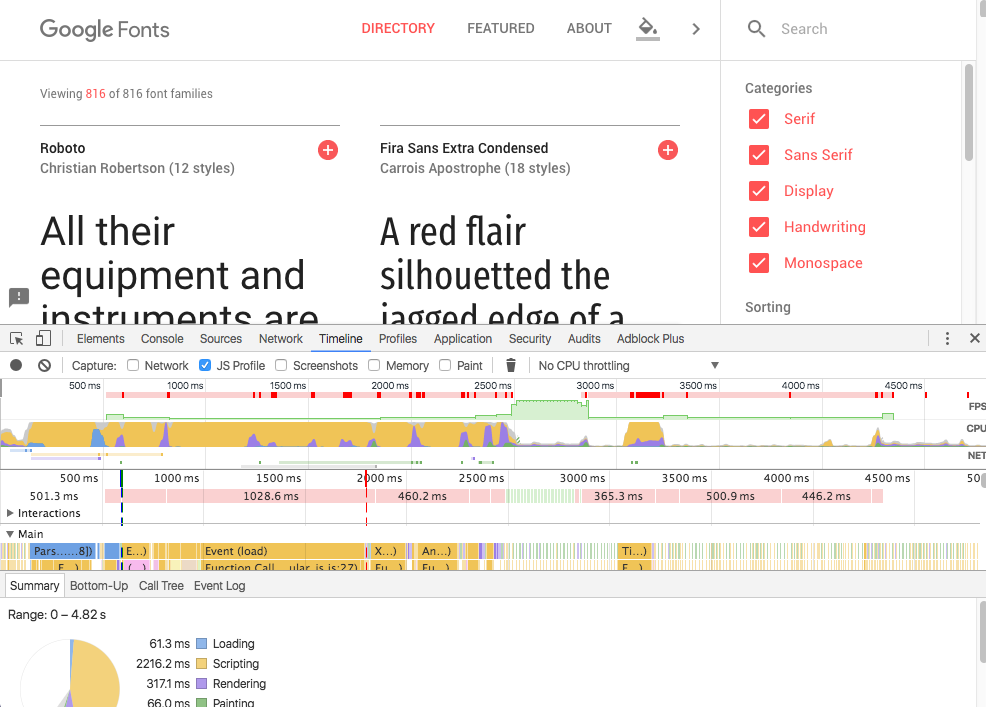
You can also analyze your site’s Runtime Performance using Chrome DevTools. Learn more about how to inspect and analyze here.
-
Clear Feedback:
Give timed feedback to users when they interact with something, whether it’s an error on-page, a confirmation page or a login to ensure a success action. For example, when users sign up for a newsletter or purchase an item, there should always be a confirmation page to communicate to the user that their action was successful. A key to better UX is to make sure your users feel confident navigating your site by providing timely feedback to them. You will help users feel that they are mastering your site, in turn leading to a more engaging experience.
-
Delightful:
Creating subtle transitions can help your content have spatial meaning and be delightful. After all, you are designing for humans, not robots. UX delight can be a variety of different things – it can be a beautiful interface, humorous copy, subtle hover effects or any motion animation. You can even design a delightful 404 page that makes users laugh, like Airbnb:
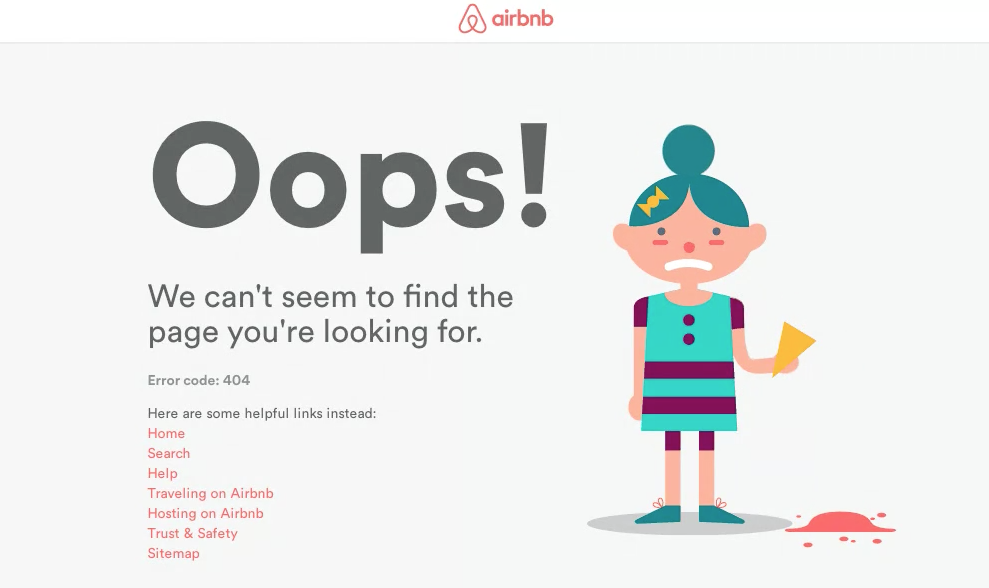
If a user sees a regular, plain error 404 page, there is a chance that they won’t hang around long enough to see what else your website can offer. The Error 404 page is like a little hidden world that you often hope no one will see. But if someone does, you should make sure that it’s delightful!

-
KPI Measurement:
Measure your success by analyzing your data. Choosing the right metrics from your planning phase can be tricky but it is important to choose the right metrics to measure your success. For example, if your end user is expected to navigate your site on a daily basis, then engagement may not be a useful metric for you. Always keep your goals in mind as this will aid you in selecting the right metrics and continue to refine a data-driven design.
-
Post-launch Testing:
UX does not end after your website launches! A/B testing can help you learn more about your user’s behaviors by collecting insights on which copy or color resonates with your users. Usability testing can help you identify missed usability issues. There is never a wrong time to test! Don’t be afraid to be wrong and fail – test it and improve it.
Tools for post-launch Testing are:
1. UserTesting
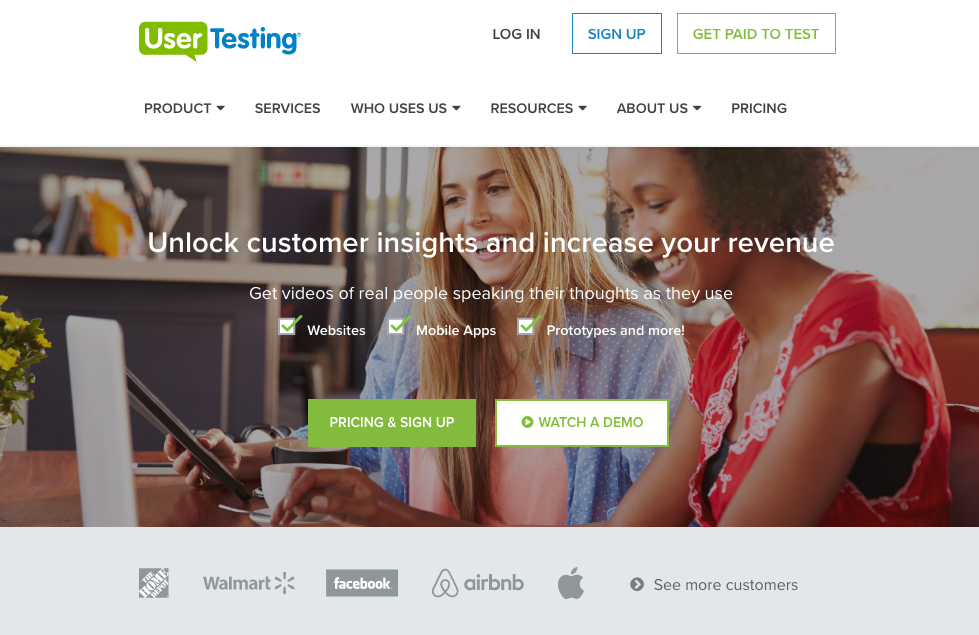
You can watch your users interact with your prototypes and live pages using this powerful user testing tool. It can allow you to record your users’ interaction so you can show those to your stakeholders to validate your design solutions. You can also use it during your prototype process earlier to get more feedback.
2. Google Analytics
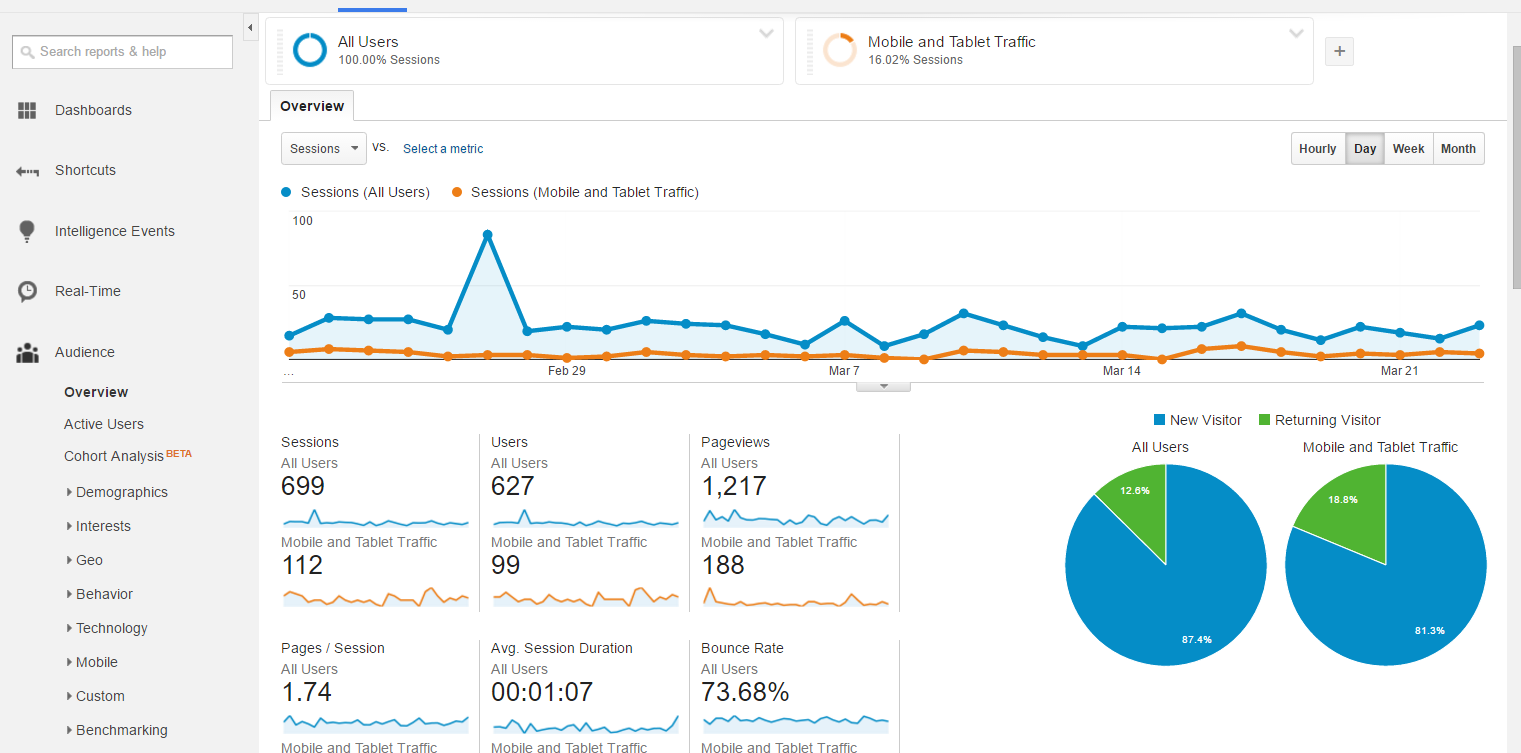
Google Analytics lets you analyze data from all touch points and help you understand your customer experience better. What’s more, it also allows you to do A/B testing in content experiments.
3. UsabilityHub
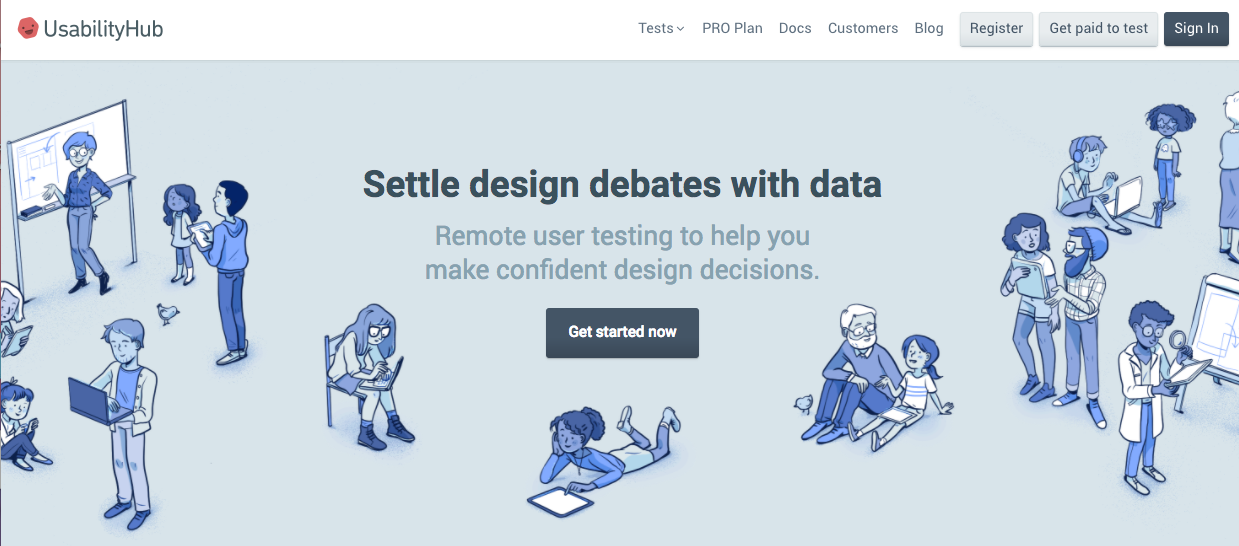
UsabiltyHub is an online usability test site that allows you to capture design feedback quickly and remotely with your users to make better design decisions. Some of their tests range from “Five Second Test” (measure the clarity of your design by asking what people recall after viewing it for just five seconds) to “Preference Test” (help you to confidently choose between design options by asking users which one they prefer.)
Conclusion:
Although some of the lists may not apply to all your projects, these are the lists that will be most relevant. The time and “weight” you apply to each phase also depends on each specific project. I hope this checklist will not only aid your work effectively and efficiently but also determine whether your UX/UI design meets your user’s or client’s expectations.